

How to add payment icons under the ‘add to cart’ button in Shopify without any apps


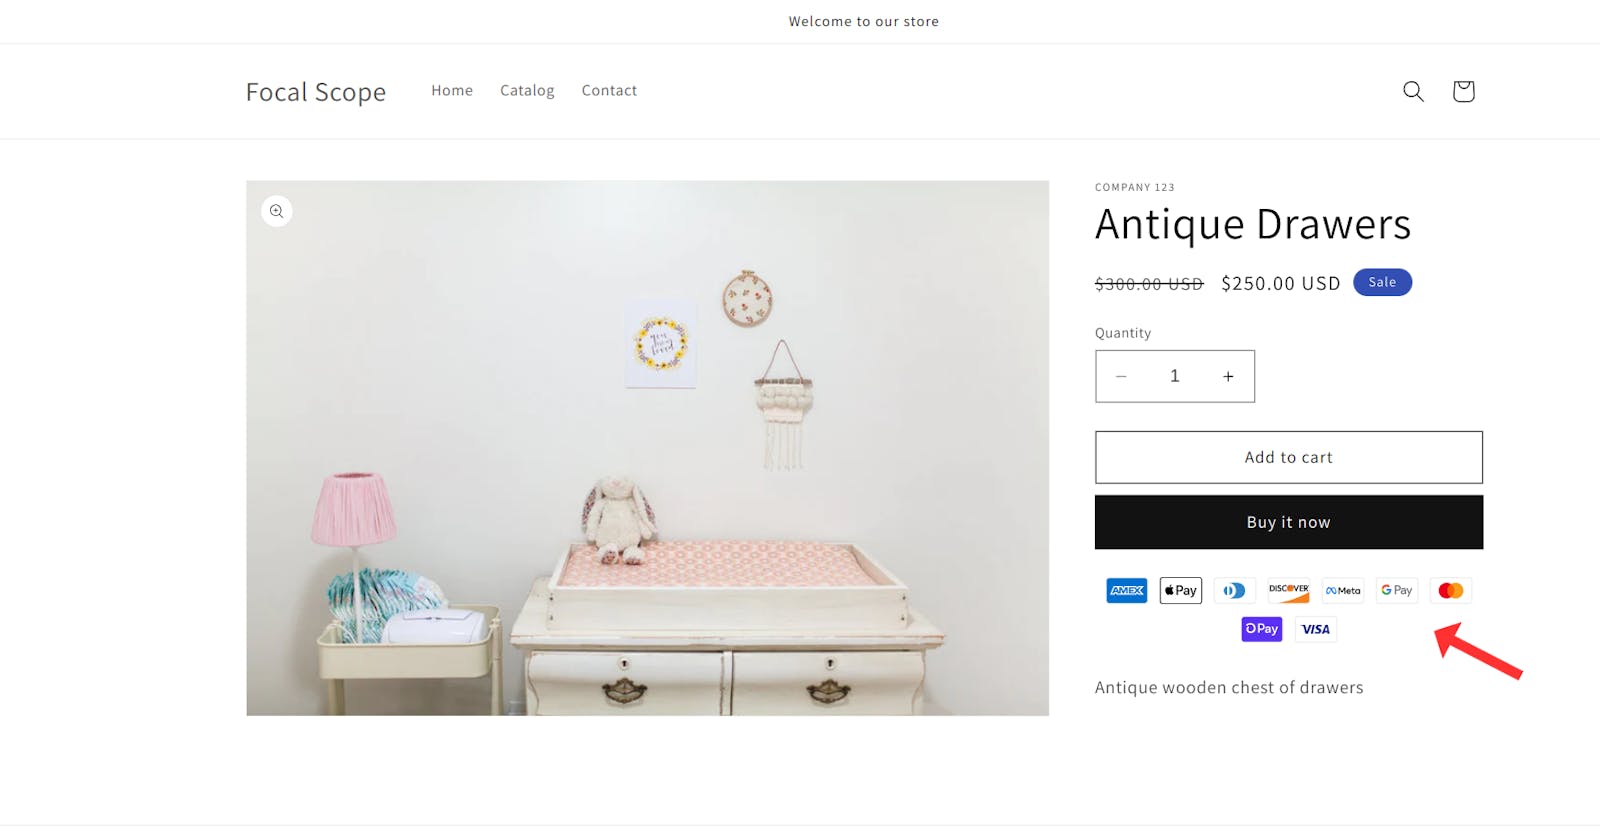
In the world of e-commerce, even the smallest details can have a big impact. Payment icons, strategically placed below the add to cart button, can make a significant difference in building trust and enhancing the shopping experience for your customers. In this guide, I’ll show you how to easily add payment icons to your Shopify store, helping you build trust and boost conversions.
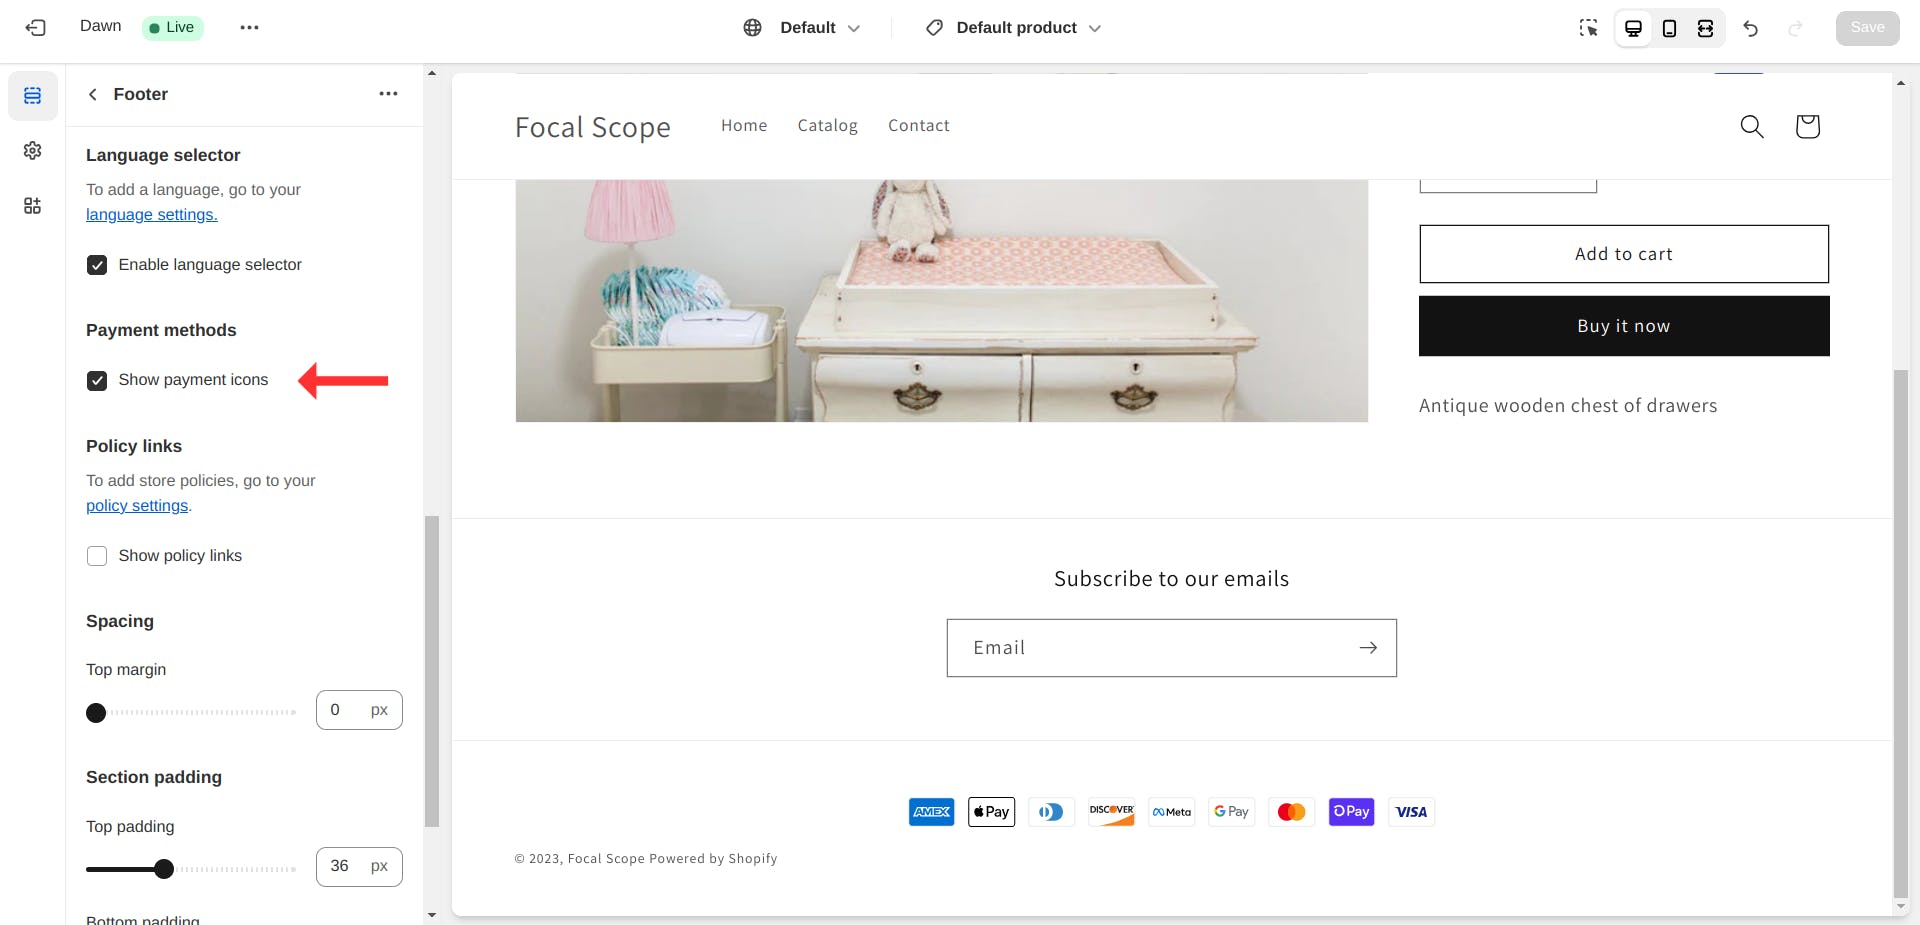
Shopify themes do have a setting in the theme editor that allows you to add payment icons. The problem is that those icons will be placed in the footer, and you can’t move them around.
In order to optimize your store’s conversion rate, it’s best to place those icons under the CTA (call-to-action) buttons, so they're easily visible to buyers. You can do this without installing any apps by copying the code from the footer and pasting it into a Custom Liquid block. Let’s demonstrate!
In this example, I’ll be using Shopify’s default Dawn theme. The code may be different in other themes, but the process is the same. You don’t need to be a developer to do this:
Navigate to the footer
Hover over the payment icons
Right-click and press Inspect.
This will bring up the browser developer tools, which will help us find the relevant snippet of code.

If you don’t see any payment icons in the footer, you need to enable them through the theme editor. If it’s enabled and you still don’t see the icons, head over to Shopify’s payment settings and make sure your store is configured to accept payments.
After pressing Inspect, you should see a DOM tree that contains a <ul> (unordered list) element with a list-payment class. This is the element that contains all the payment icons.

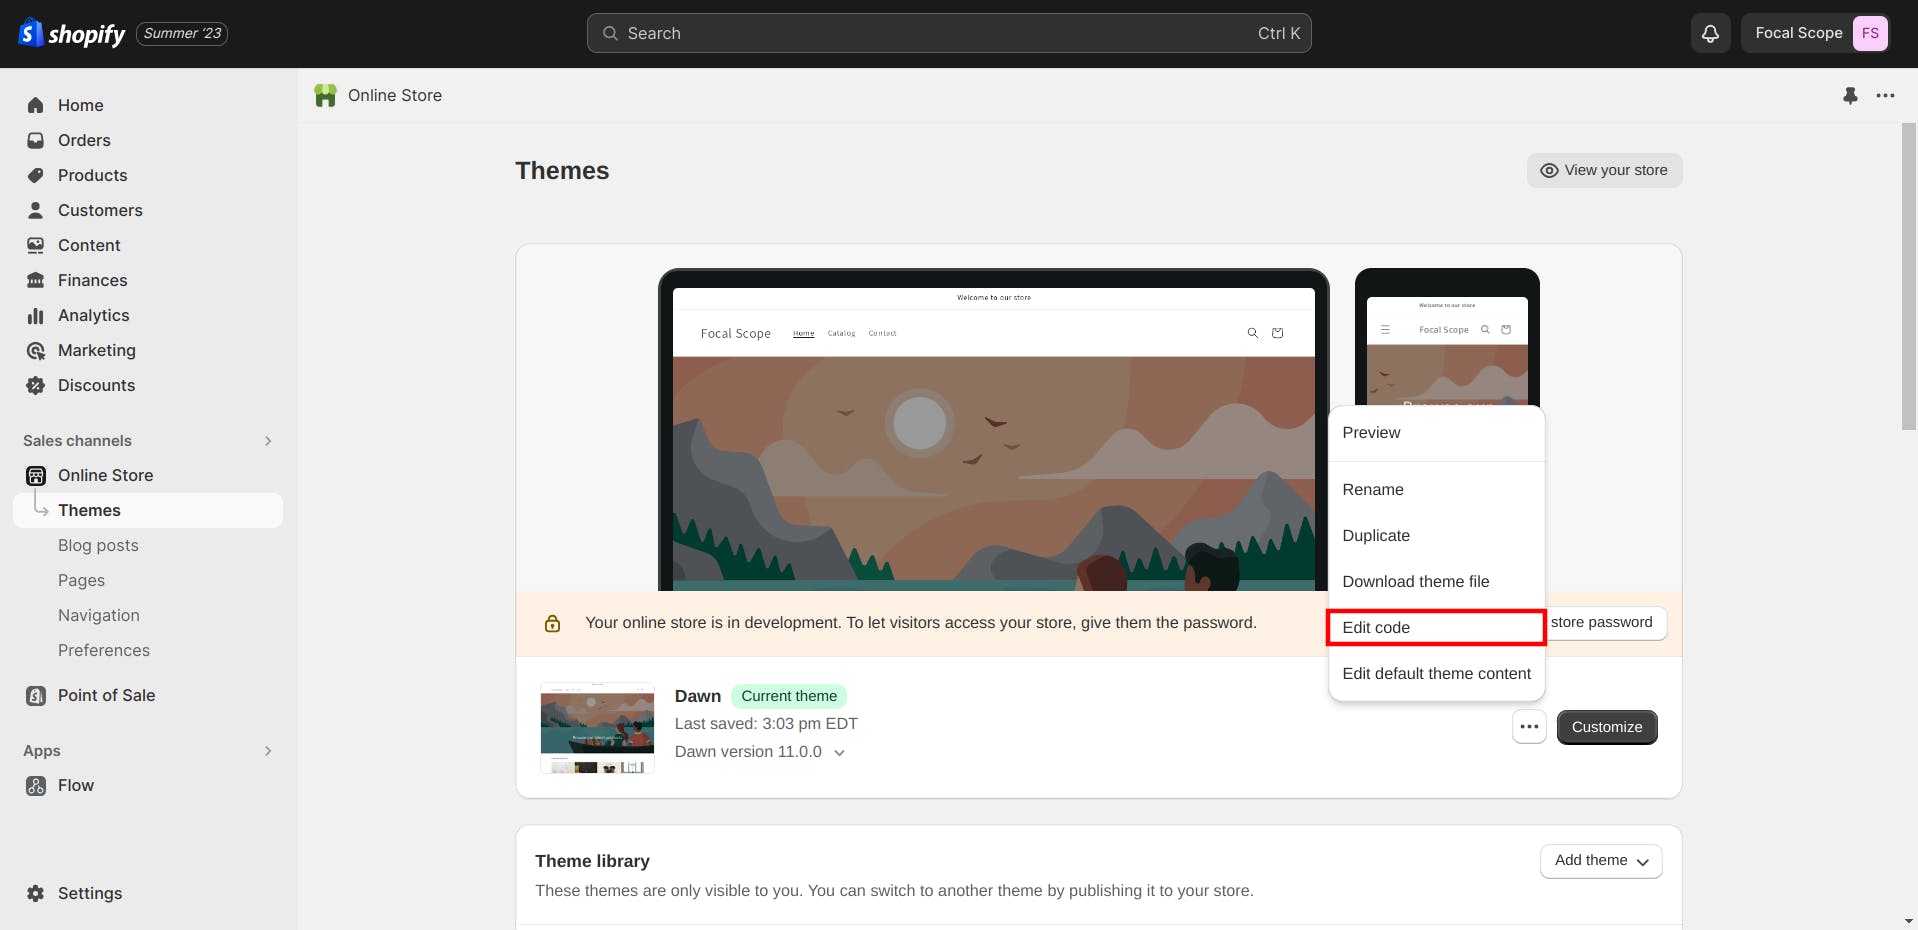
Great. Now that we know what to search for, it’s time to have a look at the theme code. Go to your Shopify admin → Online Store → Themes and press the three dots on the right, then select Edit code.
Search for footer.liquid and open the file. Use the Ctrl+F keyboard shortcut and search for the class name that we found earlier: list-payment. Copy the <ul> code and go back to the theme editor.

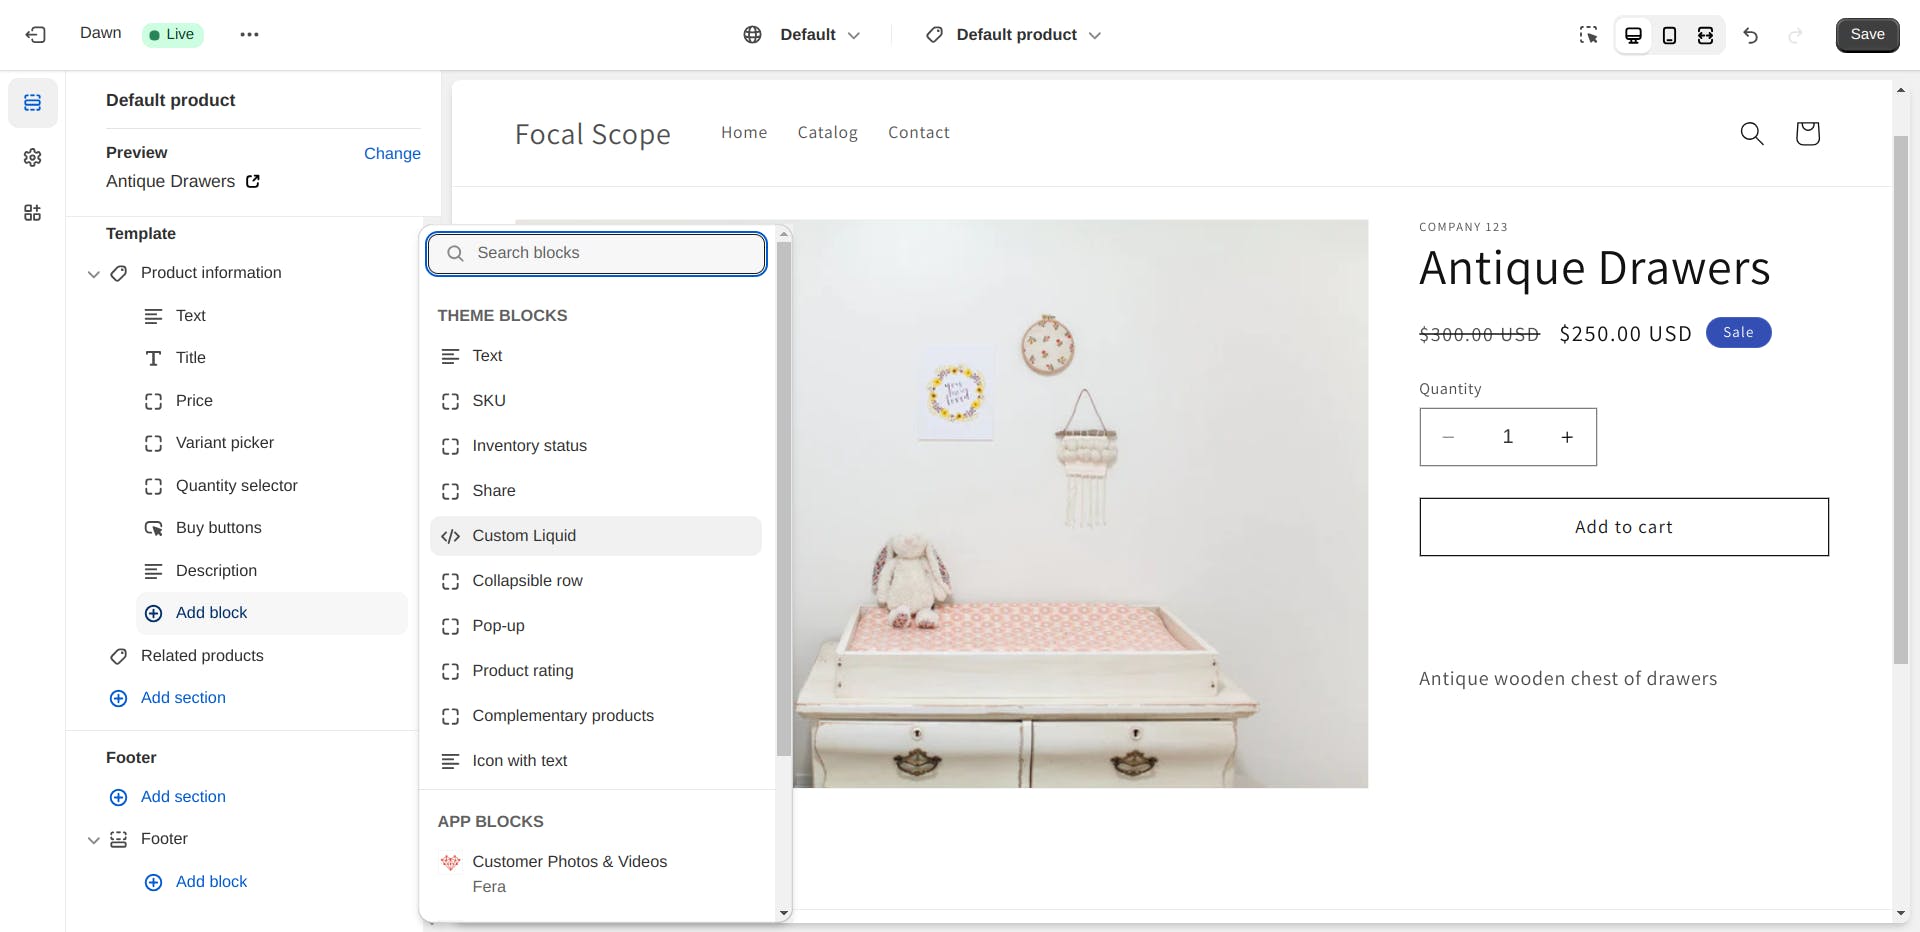
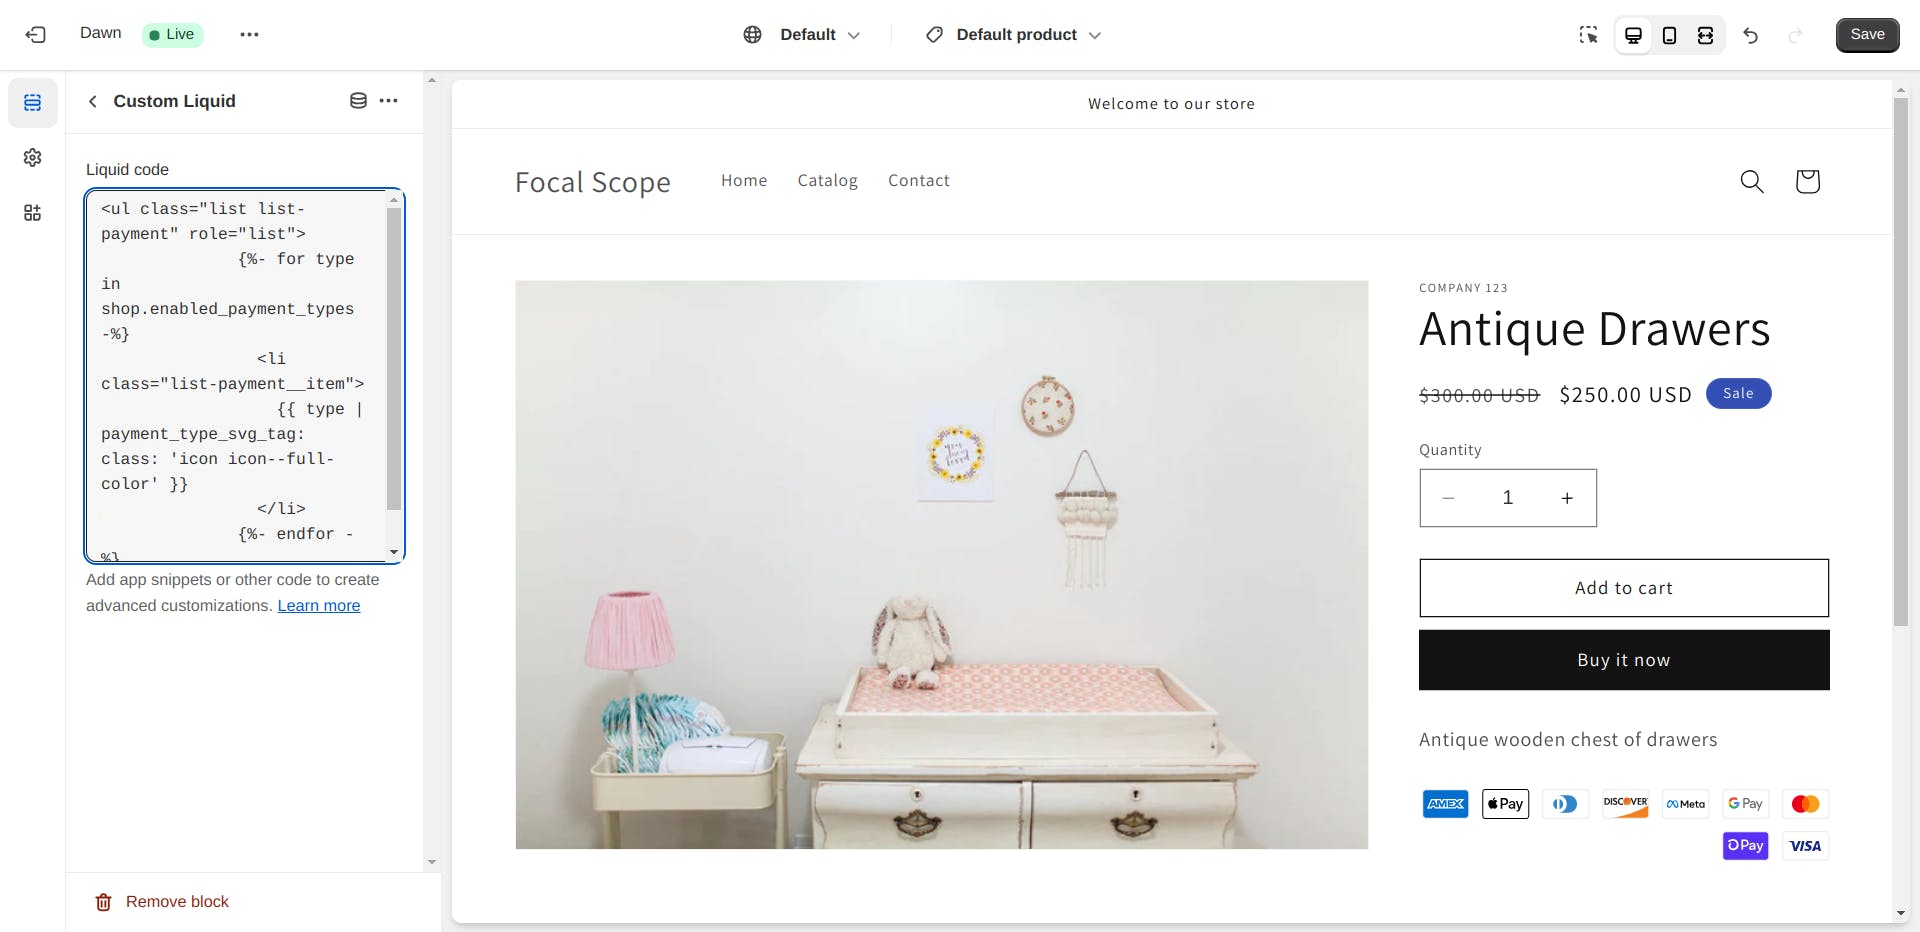
Open the product page and add a Custom Liquid block.
Paste the code we copied, and you’ll see the payment icons.
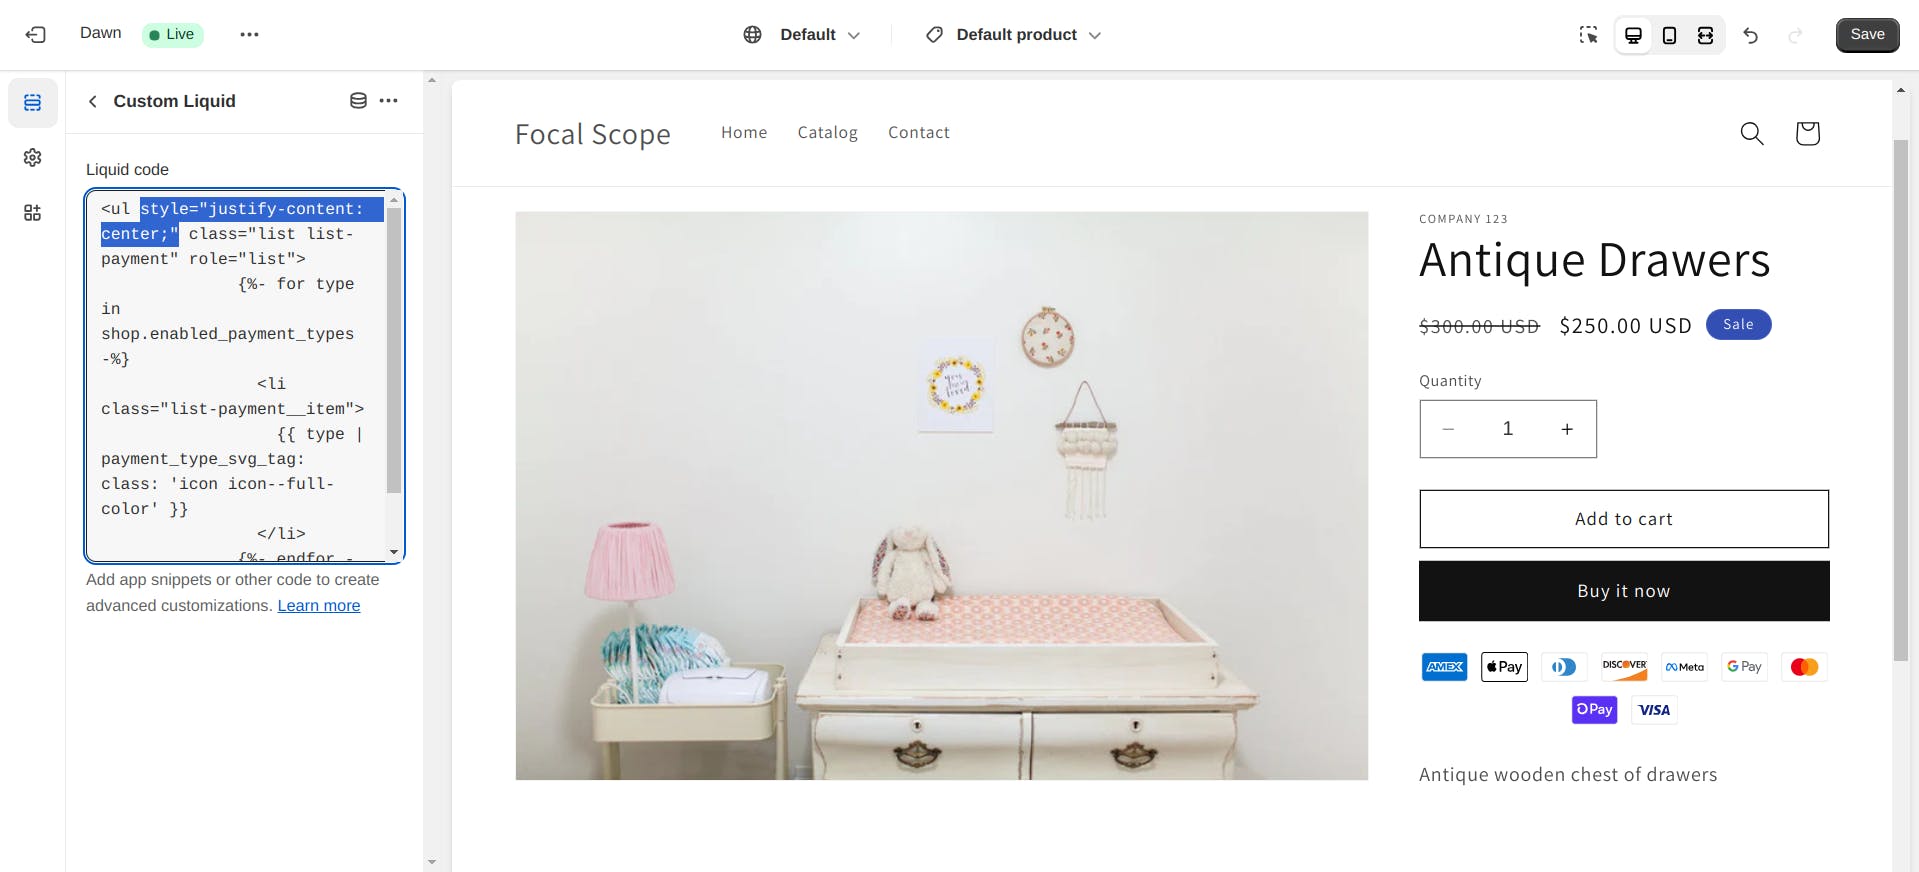
Since this is a block, we can easily move it around. I placed mine just under the Buy it now button. Lastly, I’ll add a CSS declaration to the <ul> element, which will center the icons: style="justify-content: center;"
Save your changes, and that's it! Got any questions or feedback? Leave a comment!